

How To Prep A Basement Wall For Waterproof Painting
Waterproofing basement walls with DRYLOK® pigment is pretty darn easy.
Recently I had to remodel one of my rental homes. And I was teetering with the thought of not touching the basement.
Merely it became clear that the basement walls were a nightmare.
So I decided to pigment them with DRYLOK® and share that project with yous today…just in case you're in the same predicament!
Let's swoop in.
I'll add a supply list at the finish of this tutorial.
That mode you can bank check out all the materials I used for this project.
DRYLOK® partnered with me on this tutorial but I was going to employ their paint anyway.
Step 1: Inspect Both Inside and Outside
I'll say this right now: I'thou not a basement waterproofing expert.
Okay, got that off my chest.
Simply I practise know you lot should
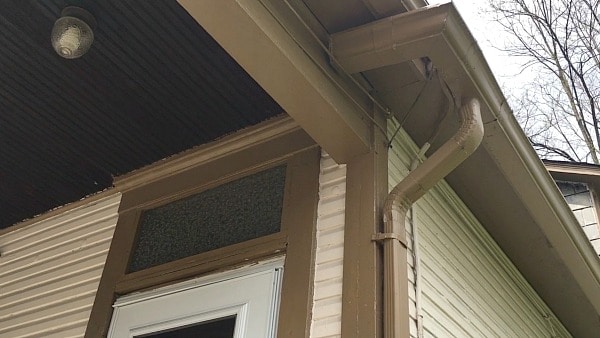
- Clean gutters and downspouts at least twice a year
- Downspouts should extend at least 3 to iv feat abroad from the foundation
- And the yard should slope away from the house if possible
The house I'g working on has the gutters and downspouts cleaned twice a year.
Check.
The downspouts piece of work properly and extend away from the foundation.
Check.
And the yard is what it is – this house is landlocked by the neighbors.
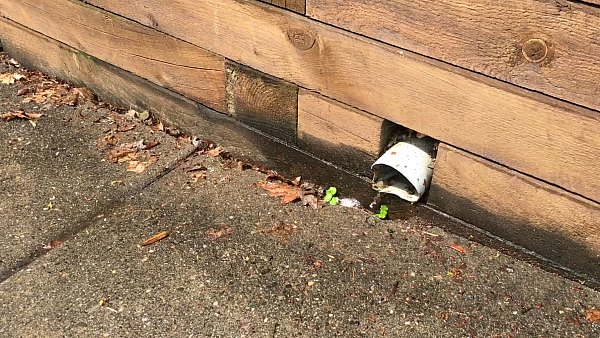
Side Note: as I was painting the walls in the basement I noticed our neighbors had their downspout facing my foundation. Yep, that's an effect and I'm sure they'll set up information technology – they're great people. But that explains some of the moisture in the basement.
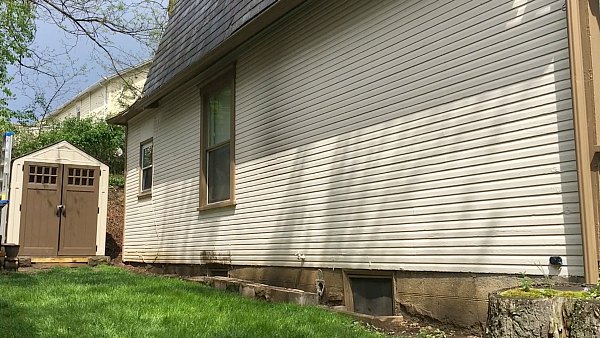
Some other issue with this home is that information technology'south over 100 years old. The walls are constantly moist and some of the old paint was pealing.
As a result, I had to prep the walls before applying the DRYLOK®.
Step ii: Prep Basement Walls for DRYLOK Pigment
My basement walls looked terrible.
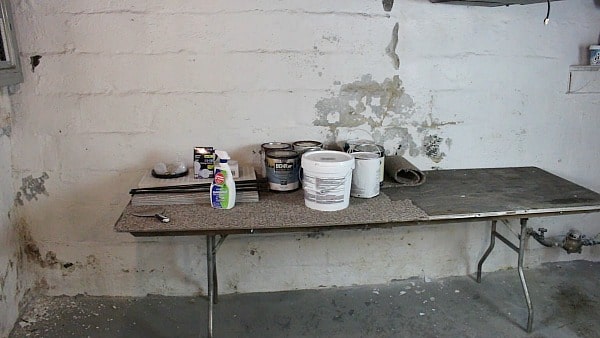
Some areas had pealing paint and cracks.
I used a 6 inch drywall pocketknife to remove the old pealing pigment.
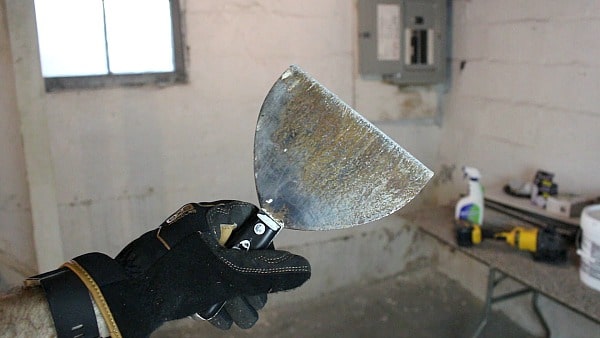
And an angle grinder with a Sawtec blade to knockdown whatsoever high spots. My goal was to make the walls as shine as possible.
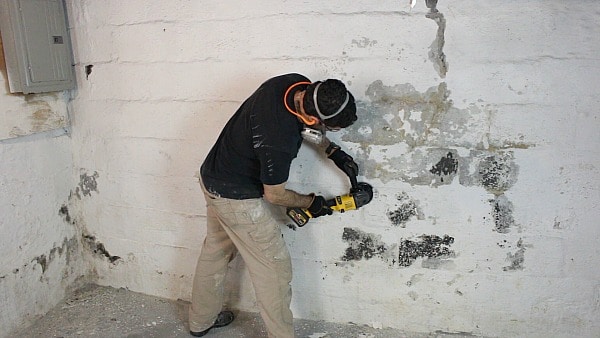
Once that was done I brushed off the walls with a broom to remove excess dust.
Then I filled cracks and holes using UGL's hydraulic cement.

Mix three parts powder to one part water and stir well with a putty pocketknife. Y'all'll have a pliable cement mixture that sets up in 3 to 5 minutes.
Cut a '5' notch in cracks or holes to ensure the hydraulic cement volition attach properly. Use a hammer and chisel for that.
I love hydraulic cement considering information technology works fast and is simple to utilize. It'due south a great fashion to forestall h2o from trickling into the basement.
I added extra tips in the video in regard to the Fast Plug, and bear witness how to handle mildew with Concrobium.
Efflorescence should be removed with muriatic acid, simply accept adept air circulation equally this is potent stuff.
Step 3: Safe Precautions – Don't Blow Up the House
Some people will think I'thou crazy but information technology's best to be safe when working with paint in a confined space.
Open windows to let fresh air in and out of the basement.
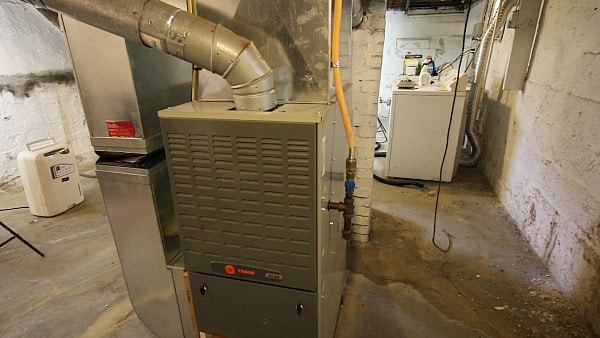
Turn off the gas to the furnace,
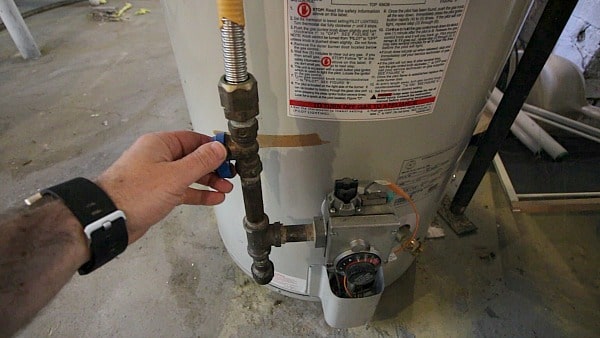
Hot h2o tank,
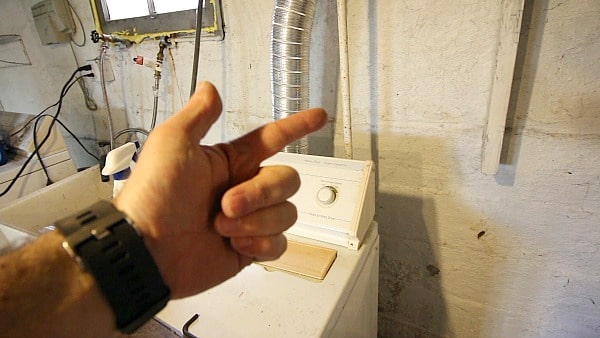
and gas dryer if you have one or at a minimum don't apply the dryer while painting.
These are condom precautions because of the paint fumes.
Okay, allow me know if I'thousand crazy or you lot're but as anal retentive.
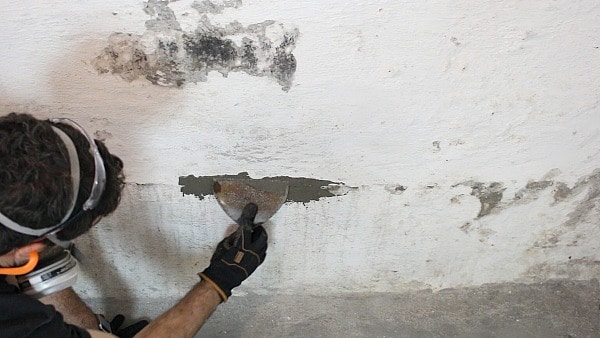
Footstep 4: Waterproofing Basement Walls with DRYLOK Paint
DRYLOK® can be applied to walls with a castor, roller, or pigment sprayer.
I toyed with the thought of using a paint sprayer but decided against information technology. Simply because I had the brushes and there were areas in this basement where a brush was improve.
UGL (they brand DRYLOK®) has brushes.

Only whatsoever standard castor for latex pigment will work.
Waterproofing basement walls with DRYLOK paint can be done with a 3/4″ nap roller, I got a 1 3/iv″ nap roller because the walls were very bumpy in spots.
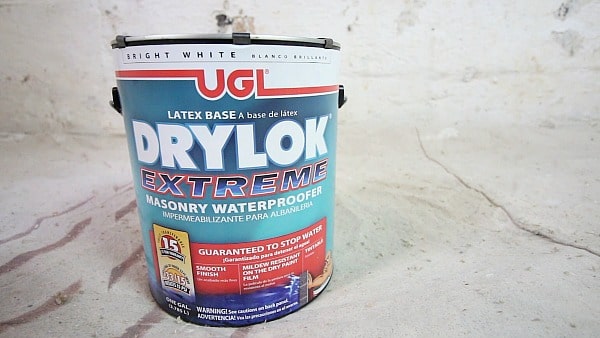
The DRYLOK® I used for this projection was DRYLOK® Extreme.
Stir DRYLOK® very well, pour some paint in a metallic tray, and first at the top of each wall. I applied the DRYLOK® across 3 feet of the wall then worked downward.
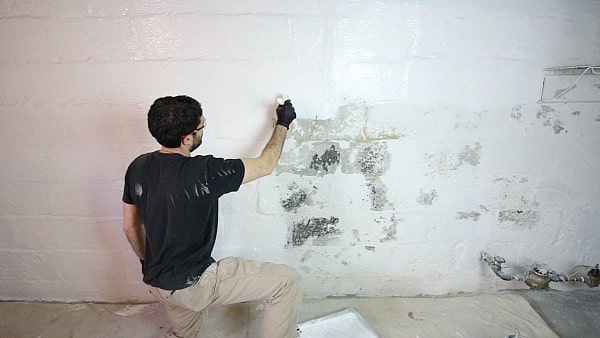
I moved left to right and applied plenty paint to cover any bare spots.
Dorsum brushing minimized drips and runs. The drib cloth saved my butt a few times when I got a little messy with the paint. I'thou not the cleanest painter :/
Always vesture protection when prepping or painting walls. My 3M respirator is seriously the all-time investment I've fabricated for my lungs (well that, and non smoking two packs a day!).
Even though I used a brush, it didn't take long to paint a wall – perchance 45 minutes.
In the video I said it took 60 minutes but that was an overestimate.
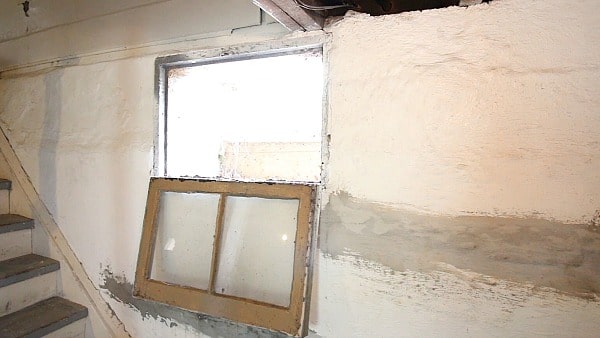
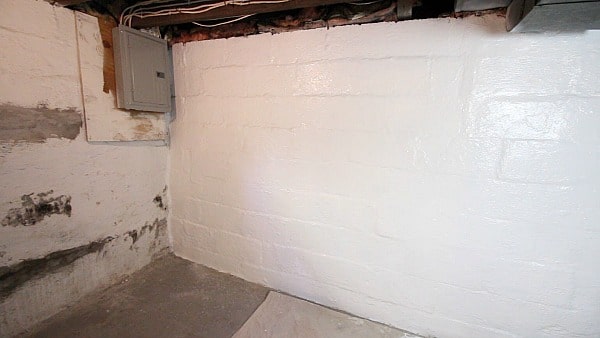
Spotter my video tutorial to meet the full effect of the DRYLOK® and how it made our basement walls way ameliorate.
The Supply List
These are all the supplies I used for my project
- vi inch Drywall Pocketknife ($7) http://amzn.to/2pFEJkp
- Venom Gloves (100 Count for $19) http://amzn.to/2parV48
- DeWALT Angle Grinder (corded) ($124) http://amzn.to/2oS3upE
- Sawtec Abrasive Grinding Disc ($seven)
- Concrobium ($12) http://amzn.to/2oQWWH5
- 3M Respirator ($19)
- Earplugs ($7) http://amzn.to/2qdKtit
- Rubber Spectacles ($five) http://amzn.to/2pFsNiI
- Driblet Cloth ($12)
- Extreme Paint by DRYLOK ($45 per gal)
- DRYLOK® Fast Plug ($17)
- DRYLOK® Paint Brush ($14) http://amzn.to/2paGrss
- Metal Tray ($4) http://amzn.to/2paC1lK
The above links go to either Amazon or Abode Depot. I tried to find the cheapest prices for each item. Promise that helps.
What'south Next
There you go, waterproofing basement walls with DRYLOK paint is pretty easy.
Y'all can bank check out DRYLOK® by clicking this link.
They make a diversity of different products for the domicile. I bet you'd be surprised.
It made a huge difference in the basements scent and appearance. I'll have to do a follow upward video or post in a year to encounter how the DRYLOK® holds upwardly.
If you're doing a bathroom remodel and need help, join one of our online courses – they'll brand your bathroom renovation much easier!
Let me know if you have any questions and I'll do my best to help.
Thank you for reading, watching, and beingness office of our DIY community.
Cheers,
Jeff

DRYLOK Paint
Source: https://homerepairtutor.com/waterproofing-basement-walls-with-drylok-paint/
Posted by: barnettankining.blogspot.com
0 Response to "How To Prep A Basement Wall For Waterproof Painting"
Post a Comment